Elements are properties within the Content sections of the Light Properties.
HDR Light Studio is supplied with a wide range of Element Presets, and you can save your own Element Presets too.
It can be easy to get confused as the thumbnail for Lights, Content: Images and Element: Images look the same, but are used in different ways.
Use Element: Images to swap out only the image, and leave the rest of the content settings the same.
You can batch import images as Presets, and ideal way to add lots of HDRI maps to your Presets library - see here

How to apply Preset Elements to existing lights
Drag and Drop onto the relevant content property.
Drag and Drop onto 'Content Tabs' or a 'Content Type' field.
(Images and Colors only) (New in Tungsten Drop 4)
Drag and Drop onto a light in the Light List.
(Images and Colors only) (New in Tungsten Drop 4)
Colors will be instantly applied to the Master Content of that light,
Images offer a choice of applying it to the Master, Value Blend or Alpha Multiply of that light.
How to create new lights from Preset Elements
Drag and Drop onto the Canvas
(Images and Colors only) (New in Tungsten Drop 4)
You are offered a choice of creating a '3D Light' or 'Background Light', once a choice is made, a light is created using the preset.
3D Lights are created in the location where dropped, with the following main settings:
Blend mode: Over
Mapping: 3D
Area Light: Off
Latitude: 0
Longitude: 180
Width: 20
Height: 20
Background Lights are created centered on the canvas, with the following main settings:
Blend mode: Over
Mapping: Planar
Latitude: 0
Longitude: 180
Width: 100
Height: 100
Ideal for HDRI maps!
Drag and Drop onto a Render View.
(Images and Colors only) (New in Tungsten Drop 4)
You are offered a choice of creating a '3D Light' or 'Background Light' - once a choice is made, a light is created using the preset.
A 3D Light will be created in the location where dropped using LightPaint.
A Background Light is created centered on the canvas.
Drag and Drop onto a space in the Light List.
(Images and Colors only) (New in Tungsten Drop 4)
You are offered a choice of creating a '3D Light' or 'Background Light' - once a choice is made, a light is created using the preset.
The light is created centered on the canvas.
Double Click on the Preset.
(Images and Colors only) (New in Tungsten Drop 4)
You are offered a choice of creating a '3D Light' or 'Background Light' - once a choice is made, a light is created using the preset.
The light is created centered on the canvas.
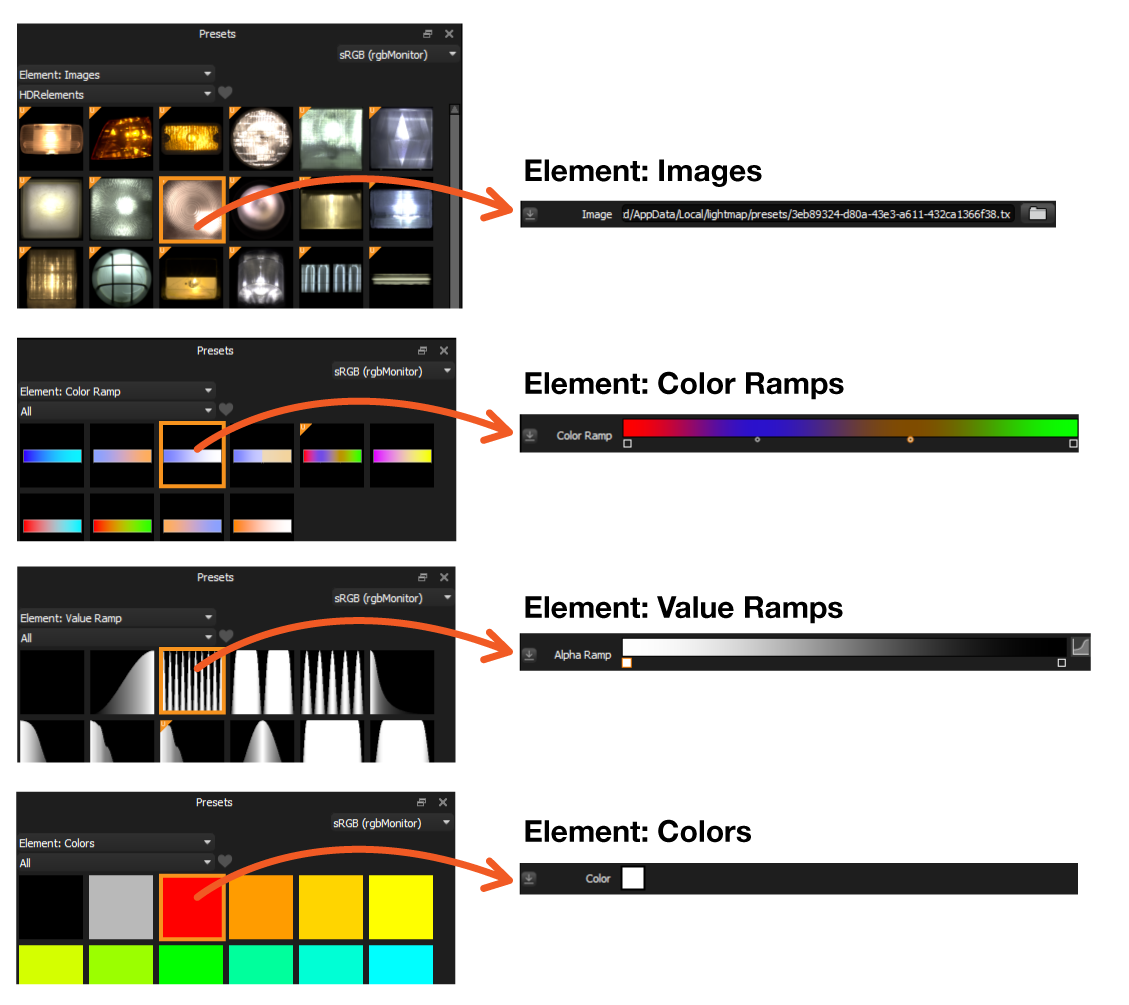
Types of Content Presets
There are 4 types of Element Presets to choose from:
Next: Save your own Presets